There is no excerpt because this is a protected post.
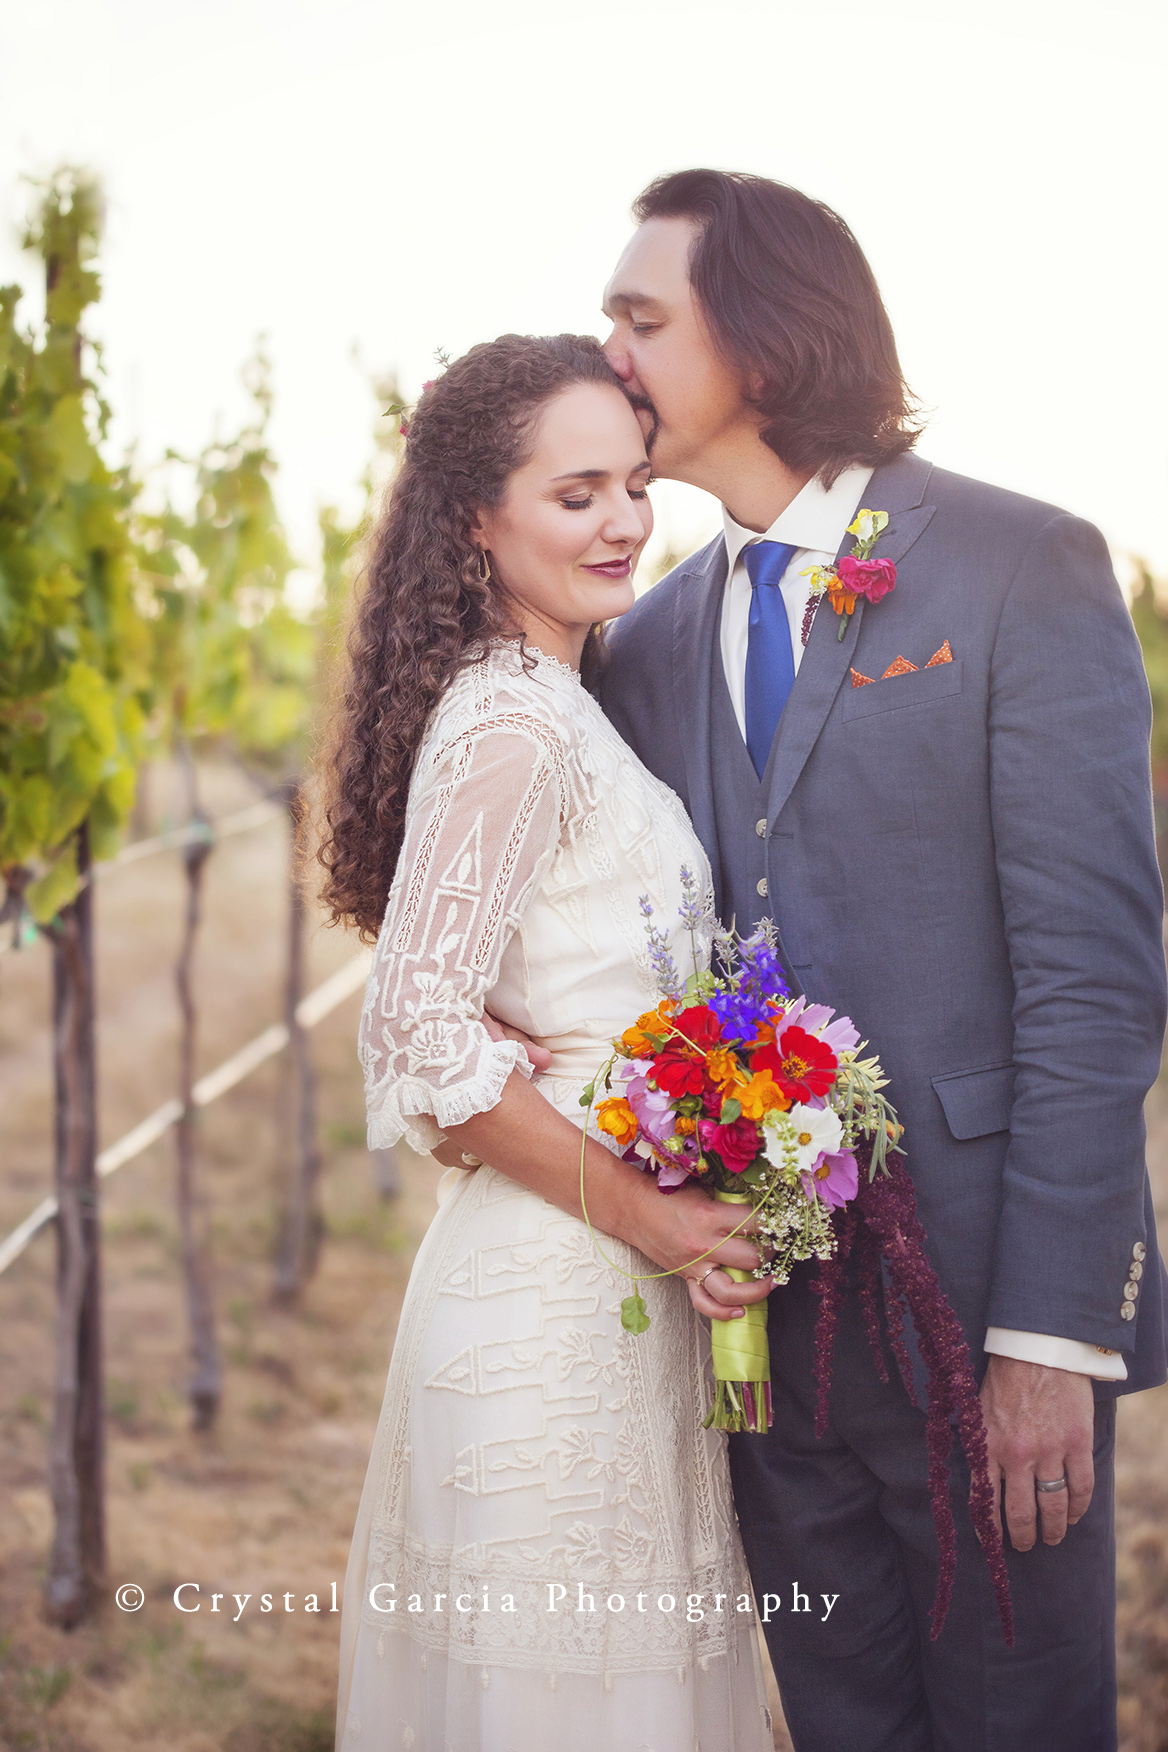
It is time again for my once a year wedding. I usually tell people “I don’t do weddings,” but the truth is I usually photograph about 1 per year, usually for a close friend or family member or when it feel like a good match and I’m not on call for a birth. This year...
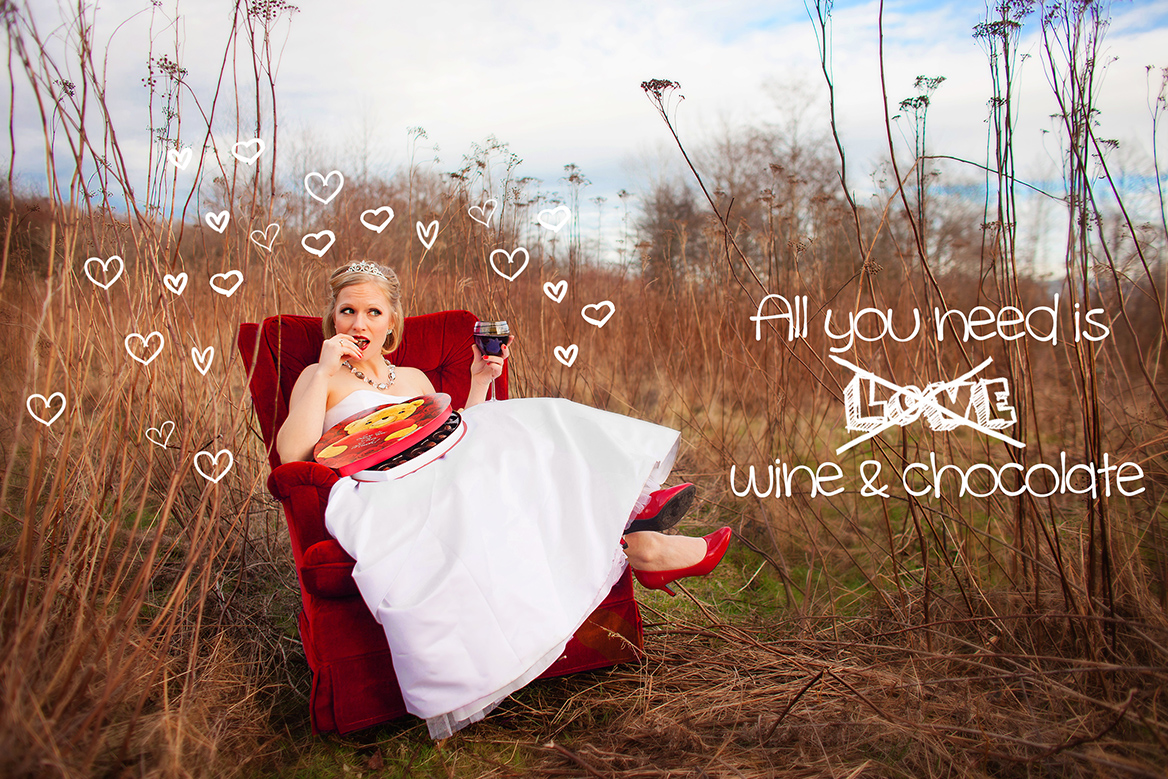
I am pleased to introduce to you my lovely friend Maren. She’s pretty amazing, and also just so happens to be single. Because of both of these things, she came up with a fun idea to make snarky Valentines for her other single friends. When she told me her ideas, I was so excited to...
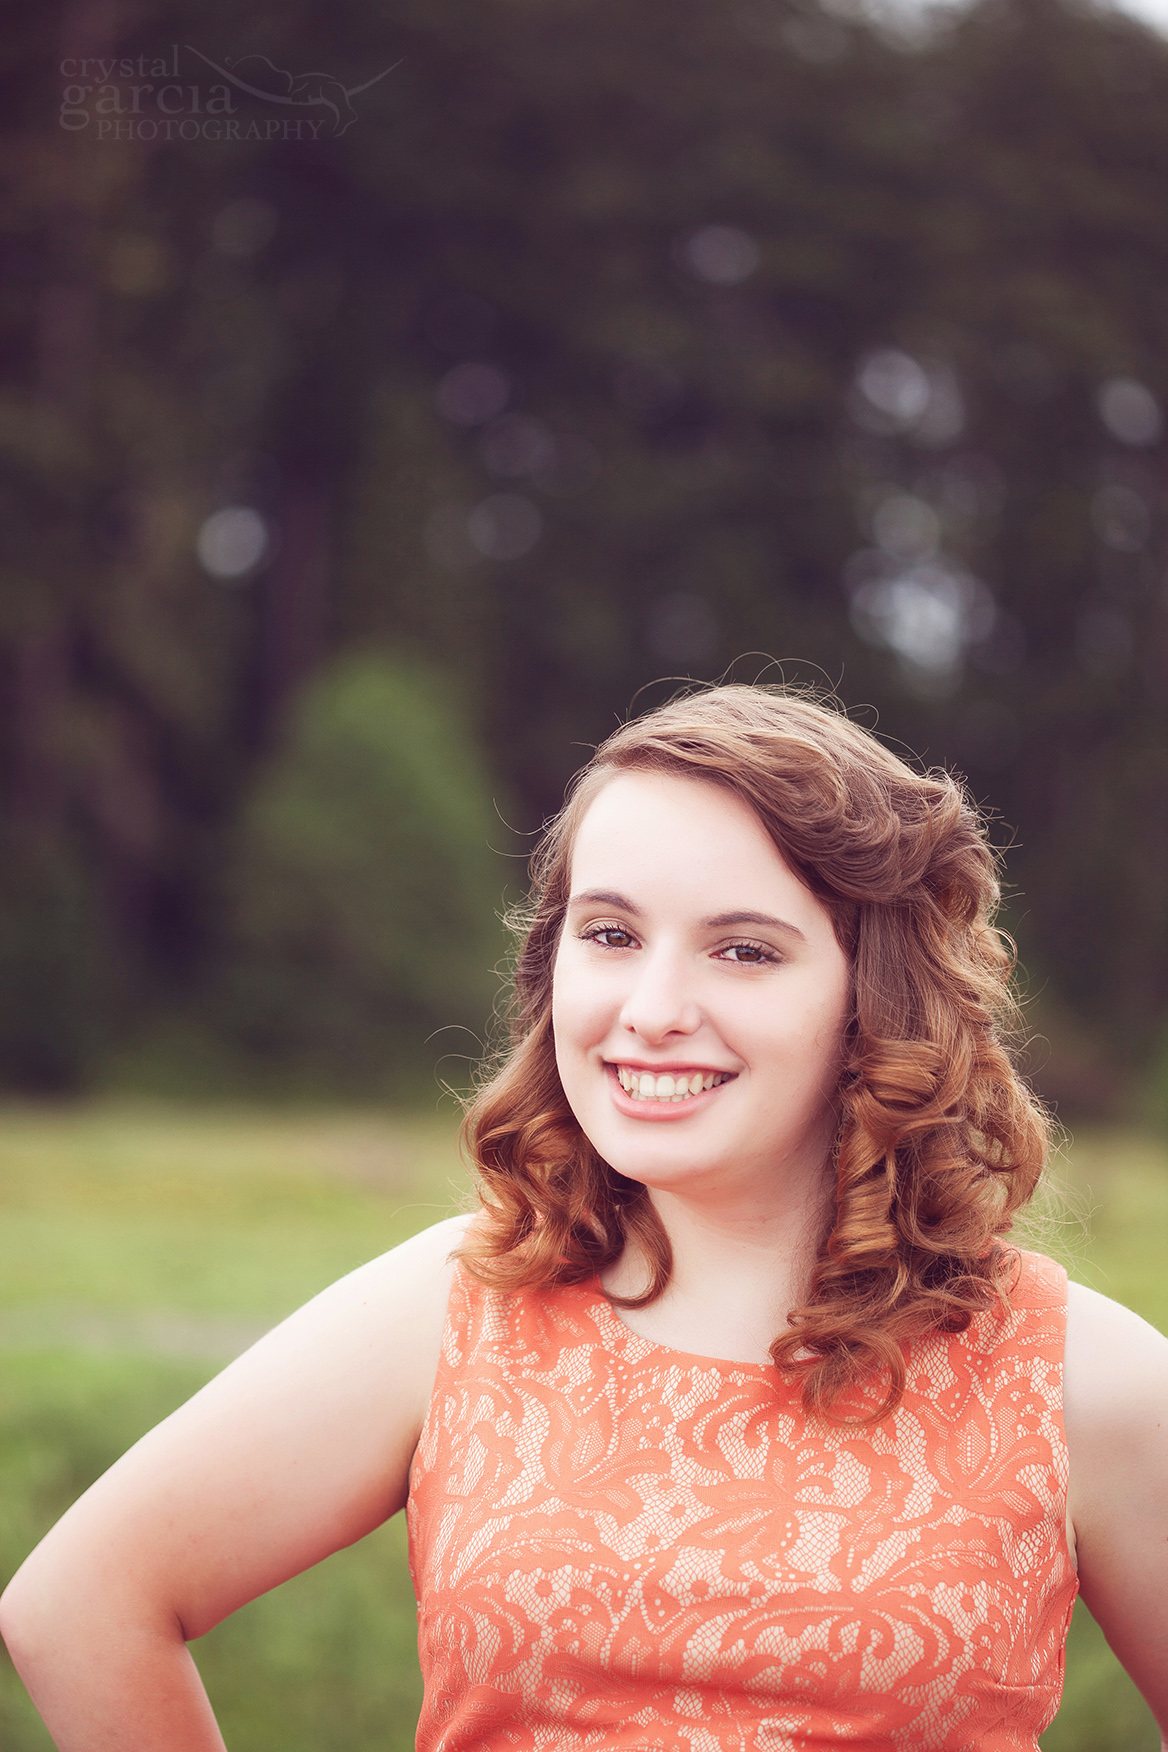
A few weeks ago I packed up my littles and headed over to the Kitsap peninsula to spend a few days with my big sister and her family. Her oldest daughter Jennifer is about to begin her senior year of high school and she asked me to take her senior pictures! First of all, I...
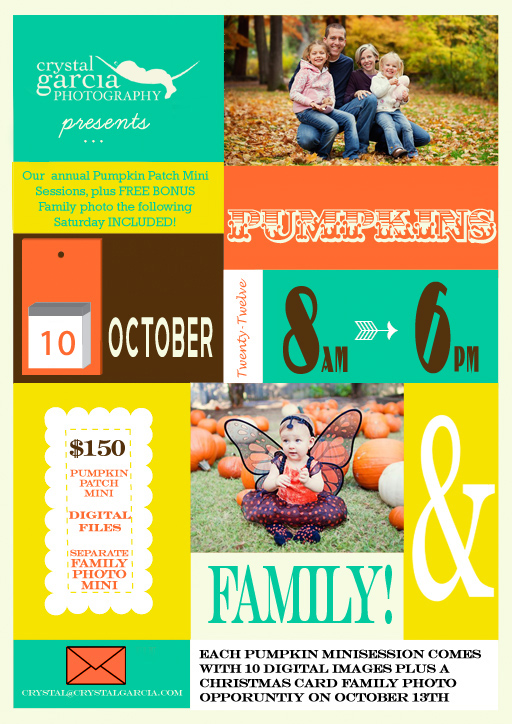
I know it’s still spring, but with a busy summer ahead, it is already time to book plane tickets to Ruston, Louisiana for the fall for my annual Pumpkin Patch Mini Sessions. If you are a North Louisiana resident (or one of our die hard pumpkin patch travelers from down south!) sign up now! This...


