I really wanted a camera bag for Christmas, but no one that buys me gifts spends enough on me to get me a cute messenger style camera bag. Not to mention that there are very few that I think are really my style (usually the one’s that are meant for men are the the ones I like best). I found a lot of tutorials online for converting purses into camera bags. They all very a little bit, but here is my version.
I am including images from the first bag I modified to be a camera bag and the second which only holds a camera and one lens (this one I made for my stepmom for Christmas).
Materials:
- 1-1.5″ velcro (amount depends on how big of a bag you are making, but I used 1 packages)
- 1 bag (Choose the size based on what you carry. I chose a larger purse with a messenger strap from Target for $30)
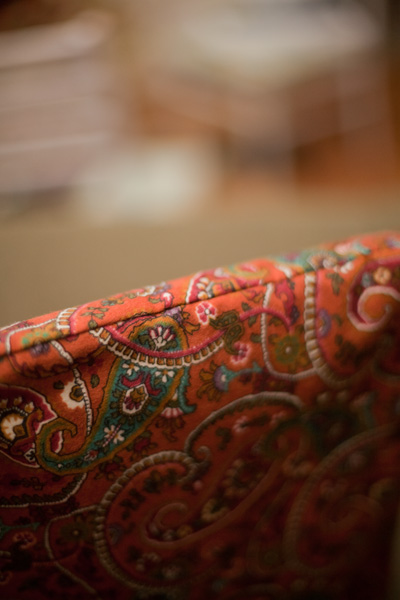
- 1 yard of soft fabric (I used a cotton, pajamas type fabric)
- Thread
- Sewing machine
- 1- 2 pack of 1 inch thick poly foam ( I used one that came in a 15X17 inch rectangle and didn’t need to cut it!)
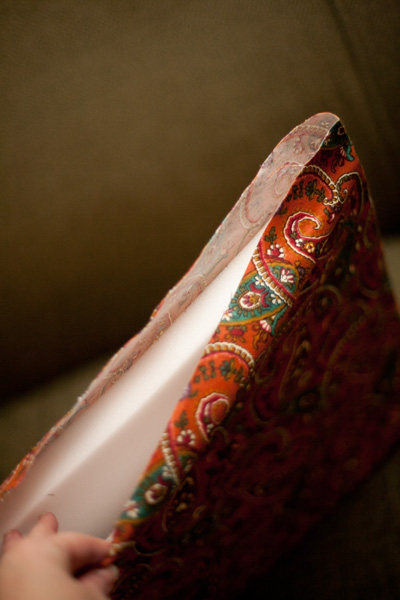
Step 1: My foam piece (15X17 inch) fit exactly into the my bag perfectly, so there was no cutting or measuring required. I simply laid my foam piece down on my fabric (folded in half) and cut my fabric to fit my foam, leaving about a 1.5 in border on every side.
Step 2: Sew the fabric around the foam like a pillow case. (In other words, turn the fabric inside our and sew 3 f the sides together. Then turn right side out and stuff the foam inside and sew the opening closed tight around the foam.)
Step 3: Put the covered pad inside your bag and decide how wide of a bade your bag has/needs. For the size and shape of mine, my pad divided almost equally into thirds to form a bottom or base. I marked these out using pins.
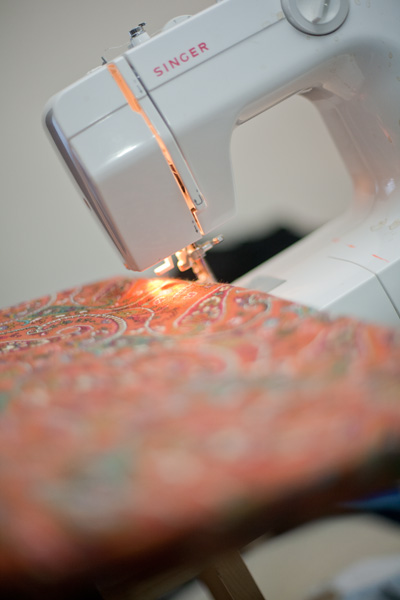
Step 4: Next I sewed a straight line down each of the thirds to make my pad fold nicely to form a base. Because of the thickness of the pad I left my sewing machine foot up and had my brother help pull the padding and fabric through. I also used a heavy duty needle in my machine.
Step 5: Cut the soft side of the velcro into two strips that are equal to the length of your pad. Pin them in place and sew them down using two passes to keep it from curling. Use the method above (and a lot of patience) when working with the thickness. Also give your self grace when you curse at the sewing machine or me for making you think this was a good idea. I promise, the hard part is over after this step! 🙂
Step 6: Insert the pad in your bag! Now figure out how many dividers you want. For my bag I made 5. One for each end of my bag to pad the sides (you could actually sew these to your pad, but since I don’t love to sew, I used them as removable velro inserts like the rest), and 3 others to divide up the bag into areas for my lenses, flash and camera. In order to choose how large to make your inserts, measure the width of you bag with the insert and a piece of equipment in it. I drew out the dimensions on paper and inserted them into the bag to check to see if they were wide and tall enough.
Step 7: Now using your paper, measure off the foam and cut the rectangles out. Now measure the fabric by laying out the foam and leaving an inch on two sides, and leave 2ish inches on the remaining side so that you will have plenty of room for the flaps and the velcro strips.
Step 8: Sew your foam into your fabric leaving a one inch flaps on the two tall sides. Sew along the foam on these sides to keep the foam in place. Now sew on the rough sides of the velcro to the flaps (one facing one way and one the other, check cheap department store bags if that doesn’t make sense but when you put the insert in your bag the flaps will make it a Z shape. Does that make sense?).
Step 9: Repeat for as many inserts as you want and you are done! This took me about 4-5 hours. It is hard to tell because of the shopping and needle breaking that occurred, which made the project stretch over two days. My sewing level is novice and I had no help so you can definitely do this for yourself! The second bag (the smaller teal on shown), I sewed using the same technique only I sewed the ends (sides) of the padding together after I had the pad and fabric sew together. I didn’t make inserts for it since it only hold a camera and lens. 🙂
Happy sewing!